

Changing the virtual server password
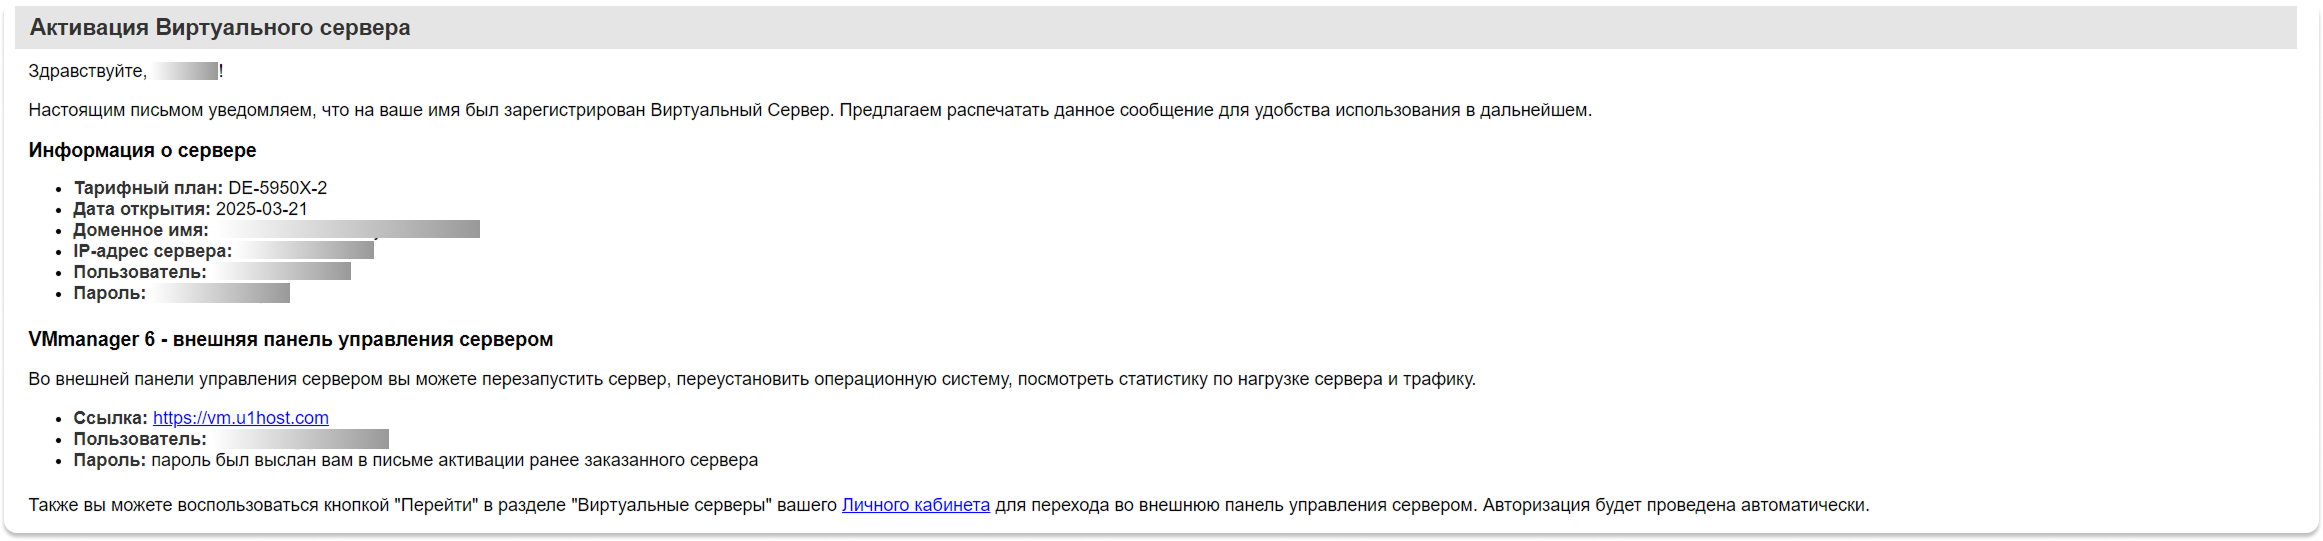
1. Get the server details in BillManager
After the server is activated, a message with the access details will be sent to your email. You can also find this information in the control panel by following these instructions.
2. Go to VM Manager
You need to go to: vm.f3cloud.com and log in to this panel using the details that are in the instructions. We have already described where to find them above.
.png)
3. Change the password
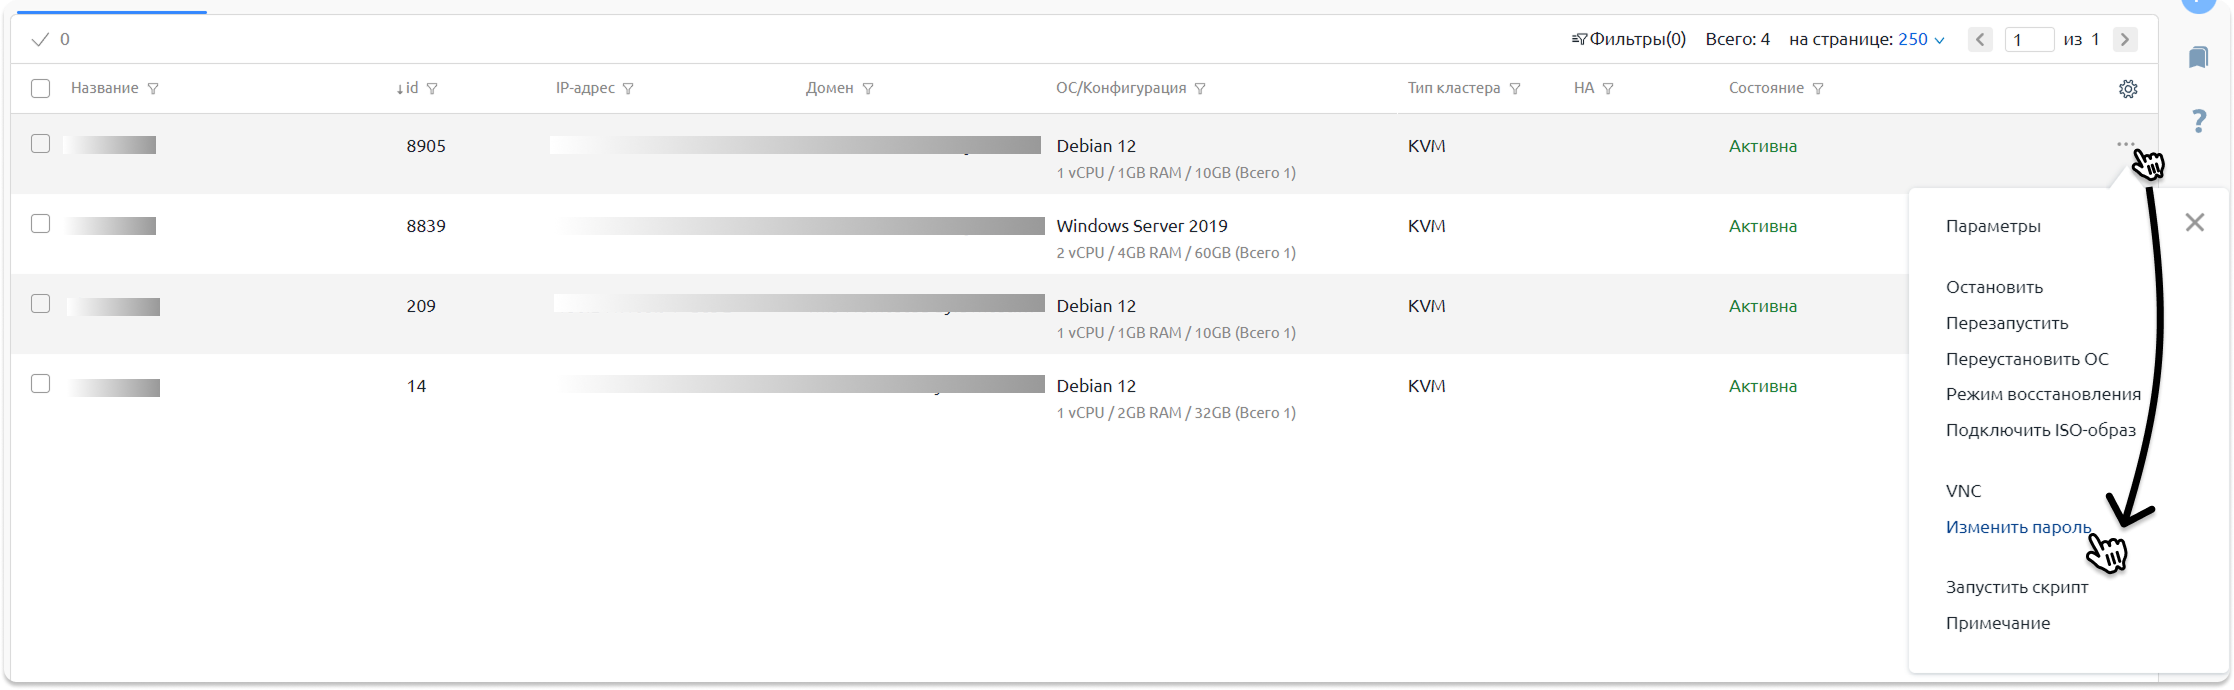
After logging in to VM Manager, you get to the control panel, where all your virtual servers are displayed on the main page.
What we need to do next:
- Click the three-dot menu next to the server you need.
- In the list that opens, select the “Change password” option.
After you click “Change password”, a window will open for entering a new password for the virtual server. We would also like to point out that to the right of the input field there is a “Generate” button, which automatically creates a strong password.
.png)
Click “Save” – the server will restart to change the password.
After that, logging in with the old details (password) will no longer be possible.
WARNING
Please note: changing the password also affects access via sFTP / FTP.
Our resources
Telegram channel: https://t.me/
Our hosting: https://f3cloud.com