

Registering in the F3 Cloud billing panel
Let's get started
To get access to F3 Cloud services and work with virtual servers, you only need to complete a few simple steps, which we will describe below.
1. Go to the control panel
Open the official F3 Cloud website and click the "Log in" button in the top right corner of the screen.
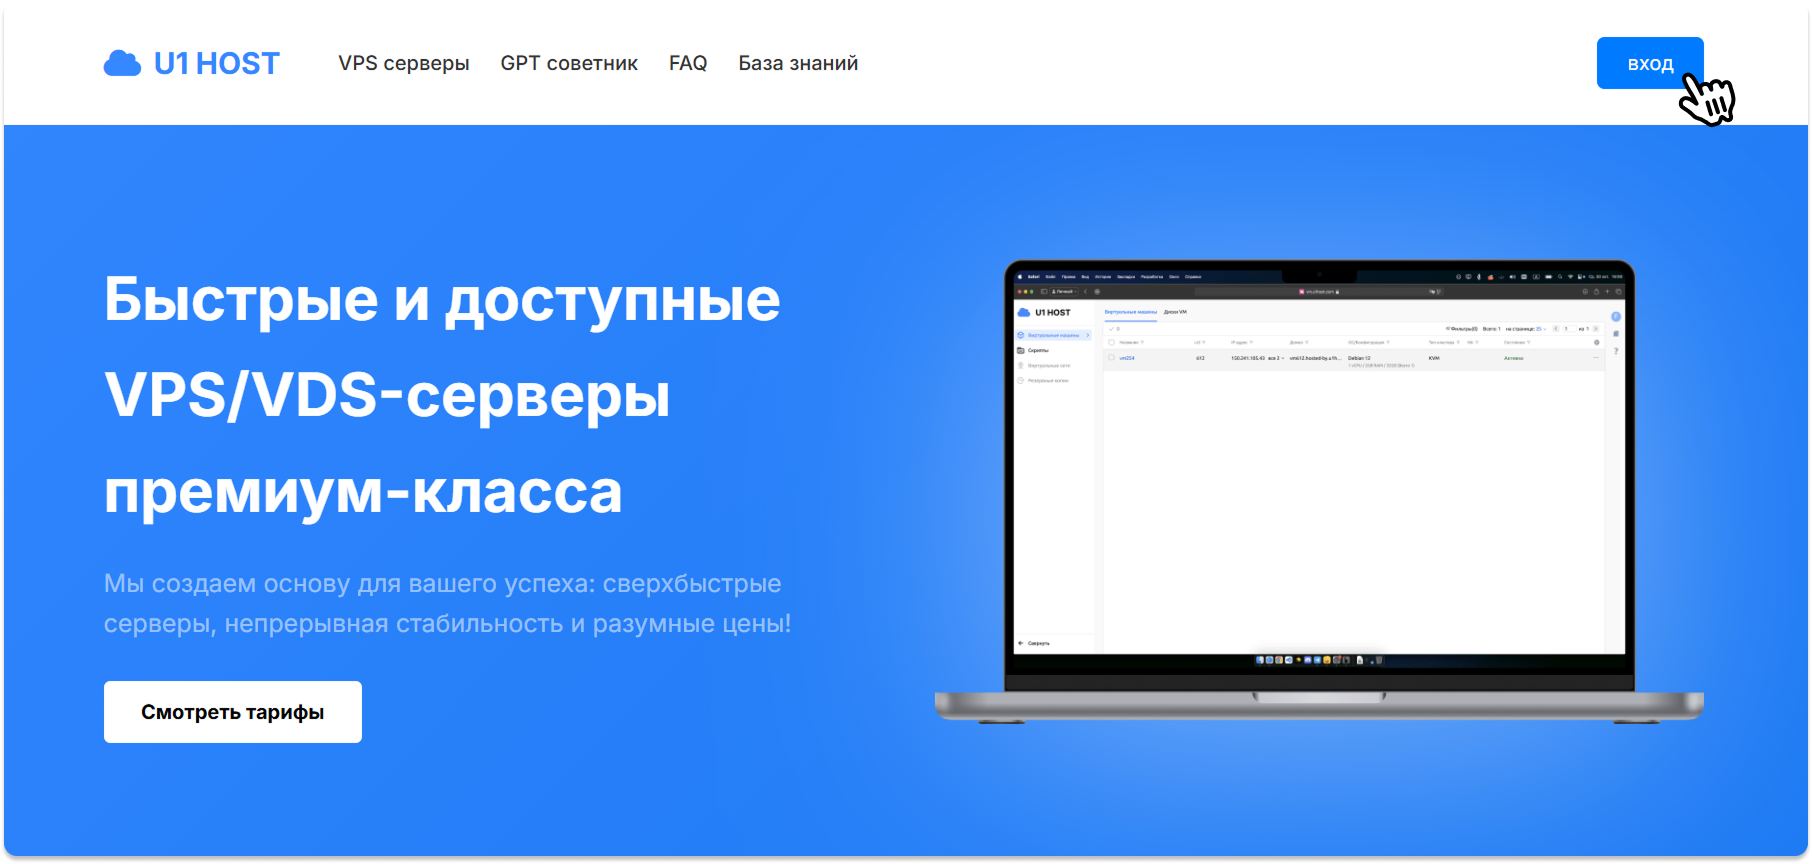
Home page
2. Fill in the registration form
Once you are on the registration page, you need to fill in the following fields:
- Name: Your name (you can make one up)
- Email: Enter your email address
- Password: Create or generate a strong password
- Country: Select a country from the drop-down list
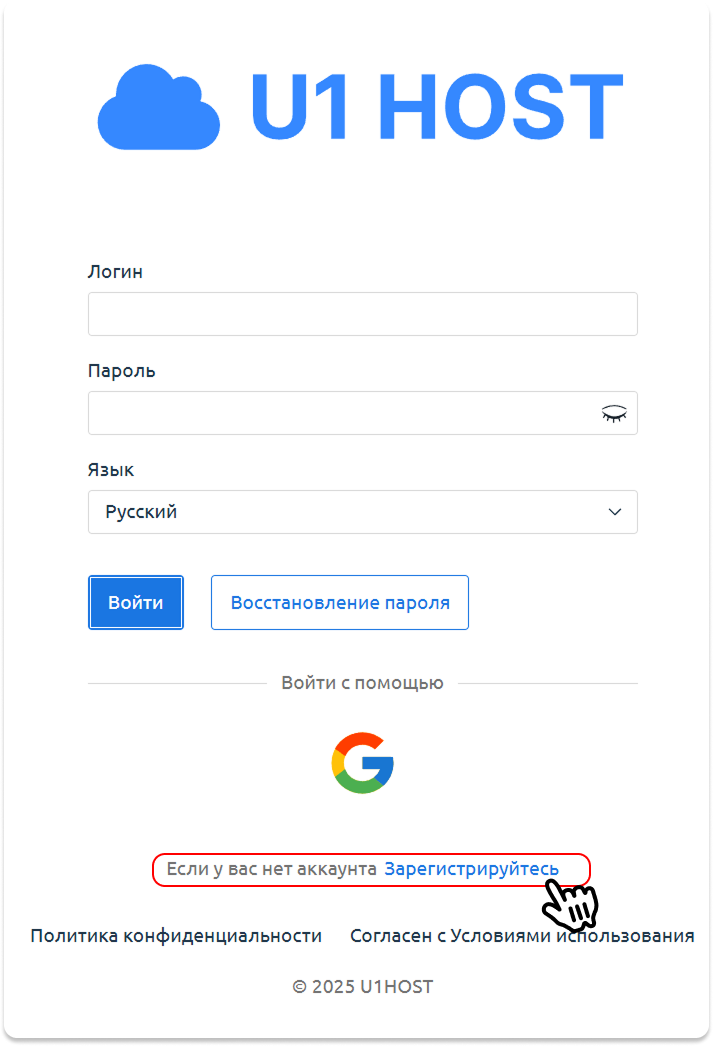
Login form
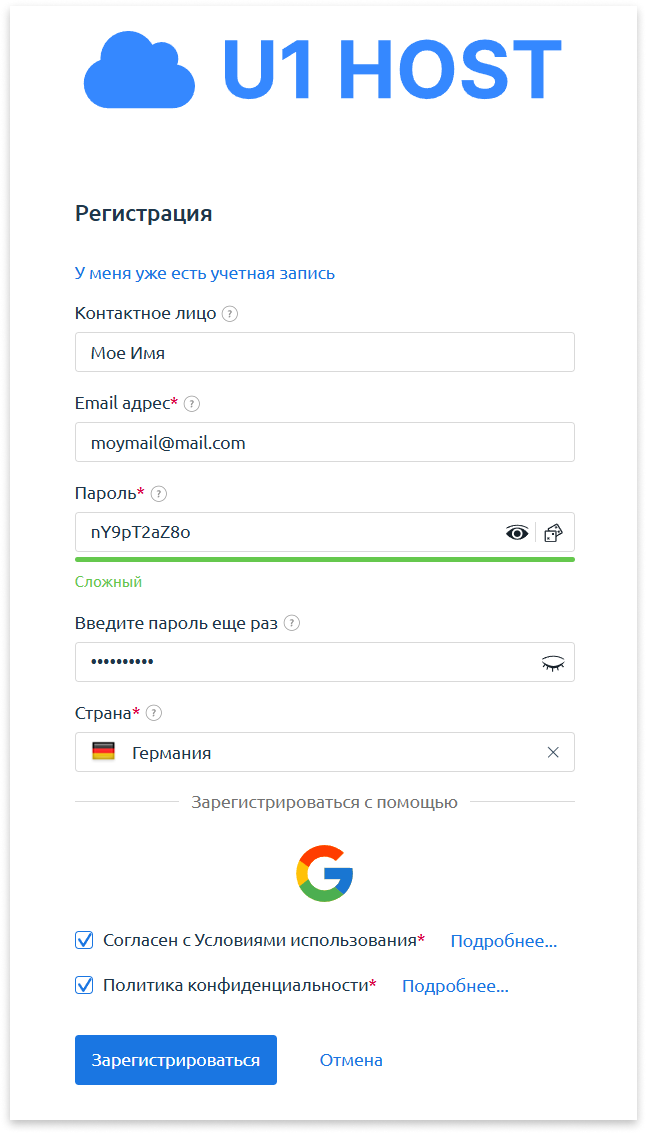
Registration form
3. Read the documentation
Before completing registration, be sure to read the following documents:
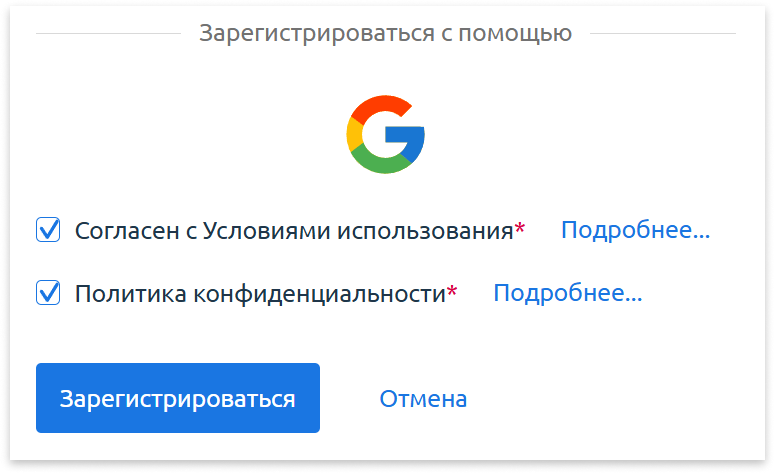
Documents
4. Confirm your email
After registration, the billing panel will automatically redirect you to the confirmation page.
Do the following:
- Check your email
- Find the email from F3 Cloud (the email may take up to 2 minutes to arrive)
- If the email is not there, check the "Spam" folder
- Follow the activation link in the email
.png)
Registration confirmation email
5. Welcome to the control panel!
After successfully registering your account, you get access to the full functionality of the F3 Cloud control panel, namely:
- Ordering new services
- Managing VPS servers
- Configuring your account
- Accessing technical support
.png)
Control panel
Our resources
Telegram channel: https://t.me/
Hosting website: https://f3cloud.com