
Nginx is a fast web server that runs a huge share of the websites on the internet. It serves pages and files to visitors, passes PHP scripts on to be executed and encrypts the connection over HTTPS.
In this guide we will install Nginx, create a site, connect PHP to it and issue a free SSL certificate. We tested every command on Debian 12, and they work the same way on Ubuntu.
What you will need
To get started, you need a VPS running Ubuntu or Debian and SSH access to it, for example through Termius. For HTTPS you will also need a domain whose A record points to the server's IP address.
1. Install Nginx
# Update the package list and install Nginx
apt update && apt install -y nginx

# Check that Nginx has started
systemctl status nginx
If the Active line shows a green active (running), Nginx is working and will start on its own every time the server reboots.
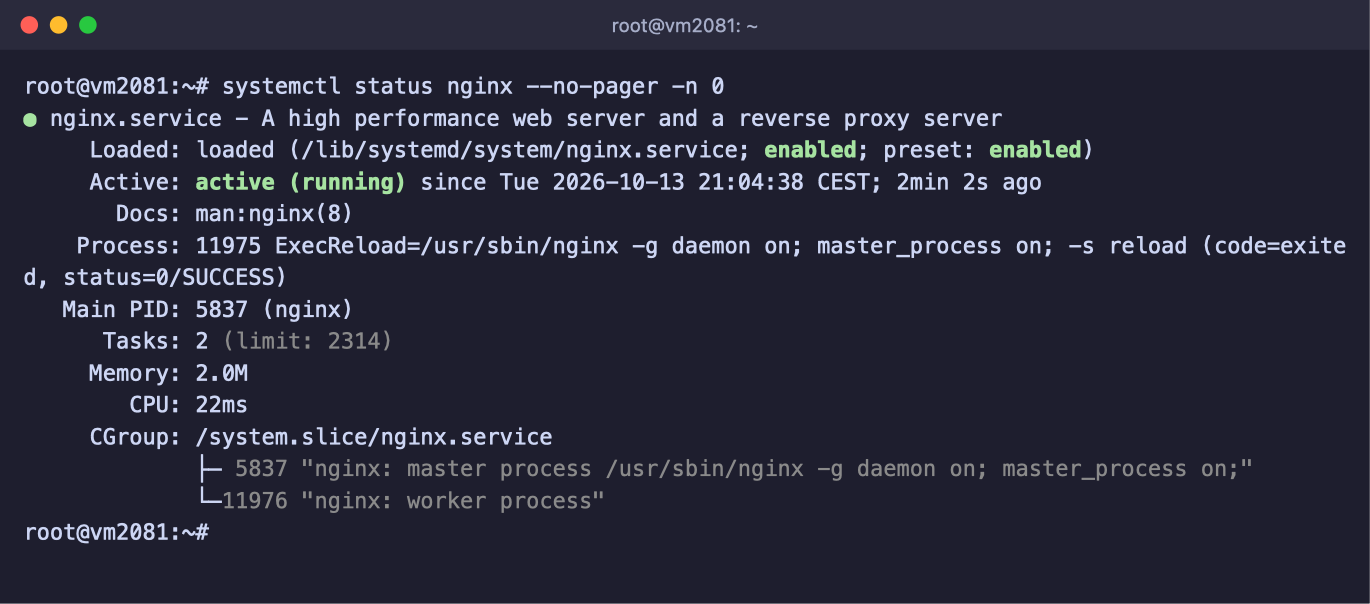
Nginx is installed and running
Open http://your-server-IP in your browser. You should see the Nginx welcome page.
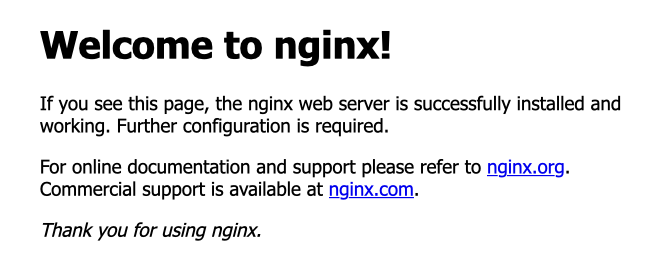
The Nginx welcome page
Page not opening?
If a firewall is enabled on the server, open ports 80 and 443 in it. We showed how to do this in our article about the firewall.
2. Create a folder for the site
It is convenient to keep each site's files in a separate folder inside /var/www. Let's create a folder and a simple page for testing. Here and below, replace example.com with your own domain.
# Create a folder for the site files
mkdir -p /var/www/example.com

# Put a test page in it
echo '<h1>The site is working!</h1>' > /var/www/example.com/index.html

# Give the folder to the www-data user, which Nginx runs as
chown -R www-data:www-data /var/www/example.com
3. Set up the site in Nginx
Site settings are stored in the /etc/nginx/sites-available folder. Create a file for your site there.
nano /etc/nginx/sites-available/example.comPaste the settings below into it and replace the domain with your own. To save the file in nano, press Ctrl + O and then Enter.
To exit the editor, press Ctrl + X.
server {
    # Accept plain HTTP requests over IPv4 and IPv6
    listen 80;
    listen [::]:80;

    # The site's domain, with and without www
    server_name example.com www.example.com;

    # The folder with the site files and the main page
    root /var/www/example.com;
    index index.html index.php;

    # Separate logs for this site
    access_log /var/log/nginx/example.com-access.log;
    error_log  /var/log/nginx/example.com-error.log;

    # The largest file that can be uploaded to the site
    client_max_body_size 100M;

    location / {
        # Serve the file or folder, and if neither exists, return a 404 error
        try_files $uri $uri/ =404;
    }
}
A file in sites-available does nothing on its own. Nginx only reads the sites-enabled folder, so enable the site with a link to the file. While you are at it, disable the default Nginx site so that your own site opens at the IP address.
# Enable our site
ln -s /etc/nginx/sites-available/example.com /etc/nginx/sites-enabled/

# Disable the default site with the welcome page
rm /etc/nginx/sites-enabled/default

# Check the settings for errors
nginx -t
If nginx -t reports syntax is ok and test is successful, there are no errors.

The settings check passed
Apply the settings. The reload command rereads the configuration without stopping the site.
systemctl reload nginxYour test page with the words "The site is working!" will now open at the server's address.
Always check the settings before reloading
Make a habit of running nginx -t after every configuration change. If the file contains an error, Nginx will not be able to restart, and the site will stop opening.
4. Connect PHP
For sites built on PHP, such as WordPress, install PHP-FPM. It is the service that runs PHP scripts when Nginx asks it to.
# Install PHP-FPM
apt install -y php-fpm

# Check the PHP version
php -v

# See what the file for connecting to PHP is called
ls /run/php/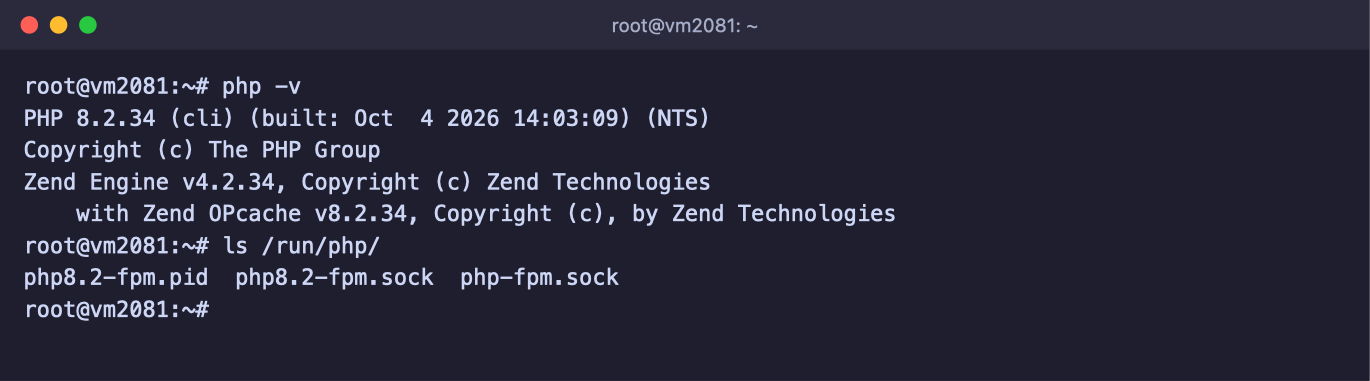
PHP 8.2 is installed and connects through php8.2-fpm.sock
Debian 12 installs PHP 8.2, while recent Ubuntu releases will get a newer version. Make a note of the file name ending in .sock, for example php8.2-fpm.sock.
Open the site settings with nano /etc/nginx/sites-available/example.com and add two blocks before the last closing brace }.
    # Pass PHP files to PHP-FPM to be executed.
    # Specify the .sock file name shown by the ls /run/php/ command
    location ~ \.php$ {
        include snippets/fastcgi-php.conf;
        fastcgi_pass unix:/run/php/php8.2-fpm.sock;
    }

    # Block access to the .htaccess service files
    location ~ /\.ht {
        deny all;
    }
Check the settings and apply them.
nginx -t && systemctl reload nginxTo make sure PHP is working, create a test file.
# Create a page with information about PHP
echo '<?php phpinfo();' > /var/www/example.com/info.php
Open http://your-server-IP/info.php. You should see a page with the PHP version, and the Server API line will say FPM/FastCGI.
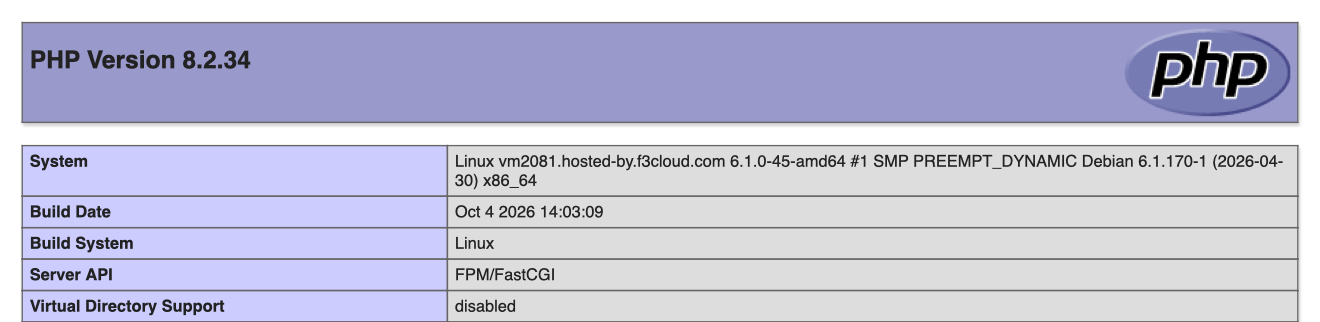
PHP runs through PHP-FPM
Delete the test file
The info.php page shows details about the server that should not be left open to everyone. Once you have checked it, delete it with rm /var/www/example.com/info.php.
Most sites need extra PHP modules. For WordPress, for example, install these.
# Modules for MySQL databases and for working with images, archives and requests
apt install -y php-mysql php-curl php-gd php-mbstring php-xml php-zip

# Restart PHP-FPM so that the modules are loaded
systemctl restart php8.2-fpm
5. Connect an SSL certificate
Free Let's Encrypt certificates are issued by a program called Certbot. Before you start, make sure the domain's A record already points to the server's IP address and the site opens at the domain over http://.
# Install Certbot and its Nginx plugin
apt install -y certbot python3-certbot-nginx

# Issue a certificate for the domain with and without www
certbot --nginx -d example.com -d www.example.com
Certbot will ask for an email address for notifications and ask you to accept the Let's Encrypt terms. It will then issue the certificate itself, add HTTPS to the site settings and turn on the redirect from http:// to https://.
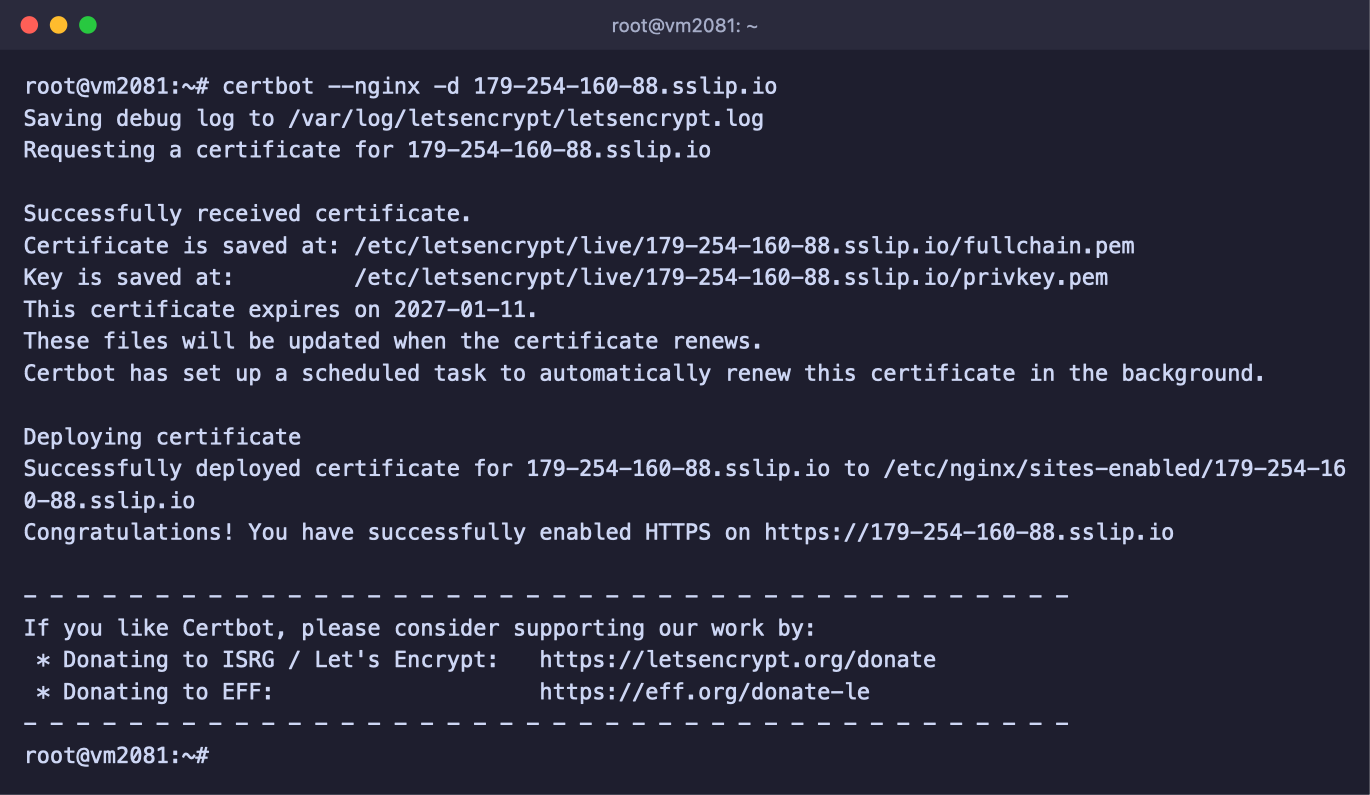
The certificate is issued and connected to Nginx
Let's Encrypt certificates are valid for a short time, but you do not need to renew them by hand. Certbot has already set up automatic renewal, and you can check it with the command below.
# A test renewal that leaves the certificate unchanged
certbot renew --dry-run
We covered issuing certificates in more detail, including for Apache, in a separate article.
If Apache is installed on the server
Nginx and Apache cannot both work on port 80 at the same time. Check which program is using it.
# Show what is listening on port 80
ss -tlnp | grep ':80 '
If the output contains apache2 and you do not need Apache, stop and remove it, then start Nginx.
# Stop Apache and remove it together with its settings
systemctl stop apache2
apt purge -y apache2

# Start Nginx
systemctl start nginx
How to remove Nginx
# Stop Nginx
systemctl stop nginx

# Remove Nginx together with its settings
apt purge -y nginx nginx-common

# Remove packages that are no longer needed
apt autoremove -y
The site files in the /var/www folder will stay where they are.
Frequently asked questions
nginx -t says test failed
There is an error in the settings, and Nginx will tell you exactly where. For example, the message invalid number of arguments in "root" directive in /etc/nginx/sites-enabled/example.com:7 means that something is wrong with the root directive on line 7 of the file. Most often it is a missing semicolon at the end of a line or an extra curly brace.
The Nginx welcome page opens instead of my site
Most likely the default site has not been disabled, or the domain in server_name is written differently from the way you open it in the browser. Check that there is no default file in the /etc/nginx/sites-enabled folder, then run nginx -t && systemctl reload nginx.
502 Bad Gateway error
Nginx cannot pass the request on to PHP-FPM. Check that the service is running with systemctl status php8.2-fpm, and compare the file name in fastcgi_pass with what ls /run/php/ shows. The error details are in the site's log, for example /var/log/nginx/example.com-error.log.
403 Forbidden error
Nginx could not find the main page or cannot read the files. Make sure the site folder contains index.html or index.php, and restore the permissions with chown -R www-data:www-data /var/www/example.com.
413 Request Entity Too Large error when uploading a file
The file is larger than the allowed size.
Increase client_max_body_size in the site settings.
For PHP sites, also raise upload_max_filesize and post_max_size in the /etc/php/8.2/fpm/php.ini file, because by default they are only 2 and 8 MB. After that, restart PHP-FPM and Nginx.
The browser downloads the PHP file instead of opening the page
The site settings have no location ~ \.php$ block, or you forgot to apply the changes. Add the block from step 4 and run nginx -t && systemctl reload nginx. Then clear your browser cache.
Our resources
Telegram channel: https://t.me/f3cloud_news
F3 Cloud: https://f3cloud.com